A stretch ceiling depends on four things working together: the membrane, fixings, the supporting surface and details such as lighting. If something is wrong in one part of the system, careful work elsewhere may not save the result. Use these checks to plan the job and discuss it with an installer.
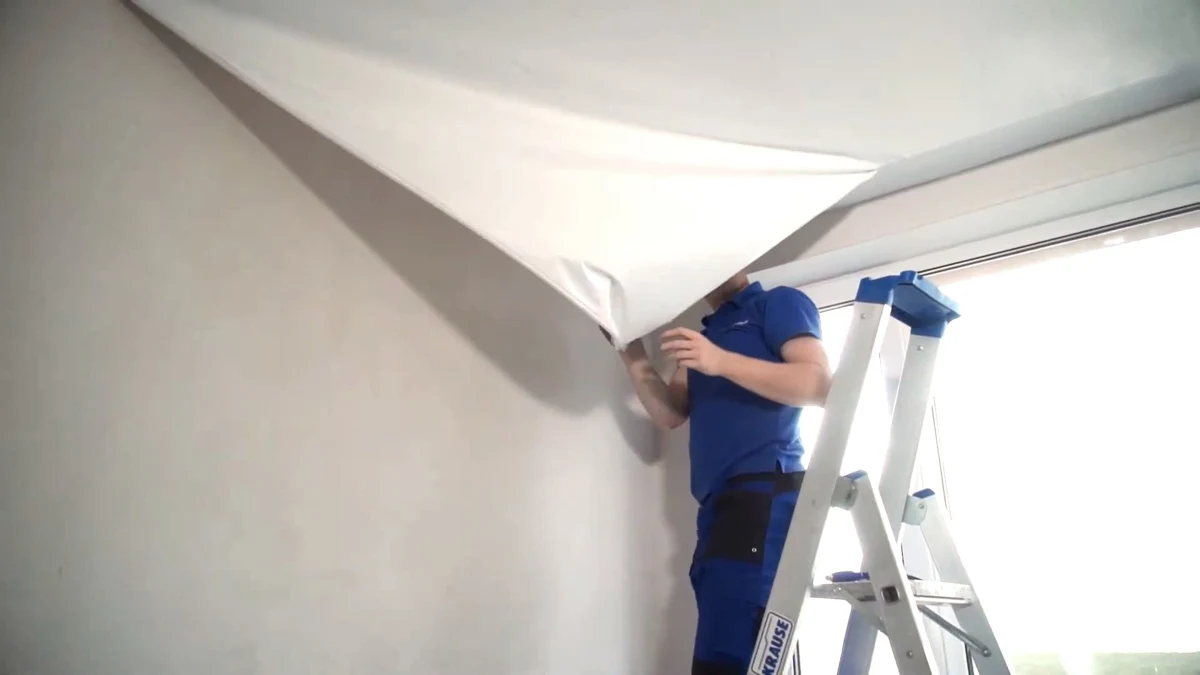
1. The room is a different shape from your sketch
Two five-metre walls tell you little about whether the room is a true rectangle. Alcoves, projections and corners that are out of square all change the outline. You may only discover a mistake after the membrane has been made.
What to do. Sketch the entire room, label the units and mark pipes, cabinets and vents. Confirm production measurements and the fitting method with the supplier or installer before ordering. Fabric systems and harpoon-fit PVC membranes require different allowances.
Identify the cause before trying to fix the problem
Stop
Pause work and keep the membrane intact while you identify the cause.
Document
Take a wide photo and a close-up. Note the material and when the issue appeared.
Agree on a fix
Consult the instructions for the specific system and agree on a fix with a specialist.
2. The wall cannot hold the fixings
A single flat can have concrete, masonry block, plaster, plasterboard and tiled walls. The surface you see may conceal a weaker layer. Problems arise when the installer anchors a profile into that layer or drills without knowing what sits behind the finish.
What to do. Find out what the walls are made of, locate concealed services and show doubtful areas to a specialist. Choose fixings for the actual substrate. If the profile pulls away or the wall edge crumbles, stop and address the cause before continuing.
3. The shadow gap makes uneven walls more obvious
A narrow shadow gap can look neat in a photo. In your room, waves in the wall may become obvious and the line may run into tiles or the top of a cabinet. The profile follows the prepared surface.
What to do. Check the walls and show the installer awkward corners. Compare a standard insert, a shadow-gap profile and wall preparation as separate options. Agree on a sample of the edge and compare the total cost before installation.
4. The membrane has marks, wrinkles or damage
Tools can leave marks, furniture can scratch the surface and an attempt to smooth a wrinkle can damage the membrane. The remedy depends on the product and installation method.
What to do. Keep the packaging and labels, protect the work area and follow the instructions for your system. If you find a defect, stop, take a photo and contact the supplier or installer. Leave spare material intact and wait before making more openings. For example, CLIPSO provides instructions specific to its own fabric.
5. You choose a light fitting after preparing the ceiling
The fitting may need a different cut-out, recess depth or mount. A track lighting driver may need space already taken up by something else.
What to do. Choose fitting models, furniture positions, lighting circuits and mounting details before installation. Have an electrician check the connections while they are accessible. Each fitting needs a support that can carry its weight. Keep a lighting plan for future servicing.
6. The new ceiling hides an unresolved problem
A new ceiling can hide a water stain, old finishes or ductwork. Check whether the leak has been fixed, the extract fan works and the fan, connections and drivers will stay accessible.
What to do. Inspect the supporting surface and building services before installation, and agree which components need service access. Delay installation until any active leak is fixed. Plan the ceiling void and number of vents around the apartment’s actual ventilation system.
7. Tools and rework eat up the savings
Budget for delivery, profiles, supplies, equipment, time spent sourcing parts and the possibility of reordering. Heating equipment, gas appliances and electrical work require specific skills.
What to do. Compare the full DIY cost with a quote for the same specification installed. You can draw up the layout, choose finishes and prepare the room while a specialist takes final measurements and fits the ceiling. Agree in advance on who will do each task.
Start with the preparation checklist. If you have already run into a problem, send us an overview photo, a close-up and the name of the material so we can advise you.