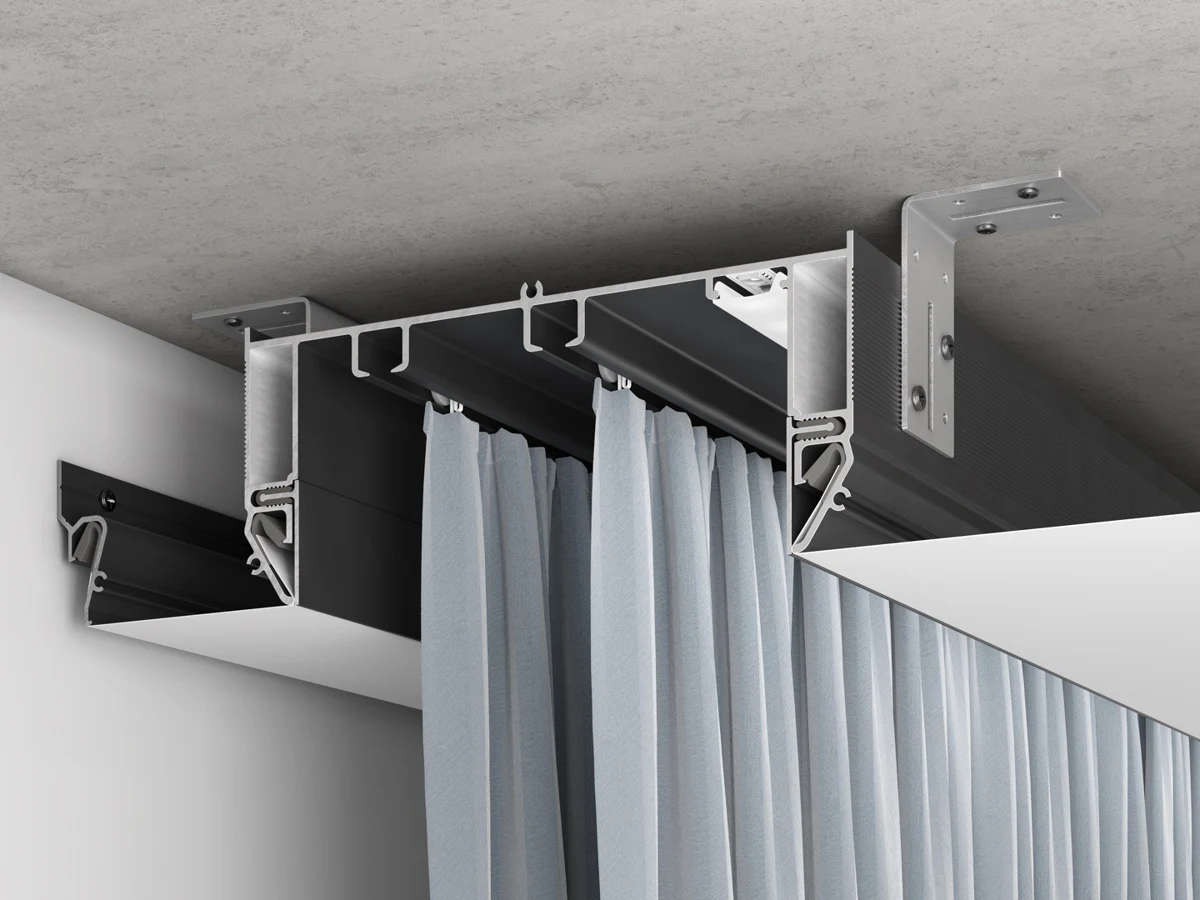
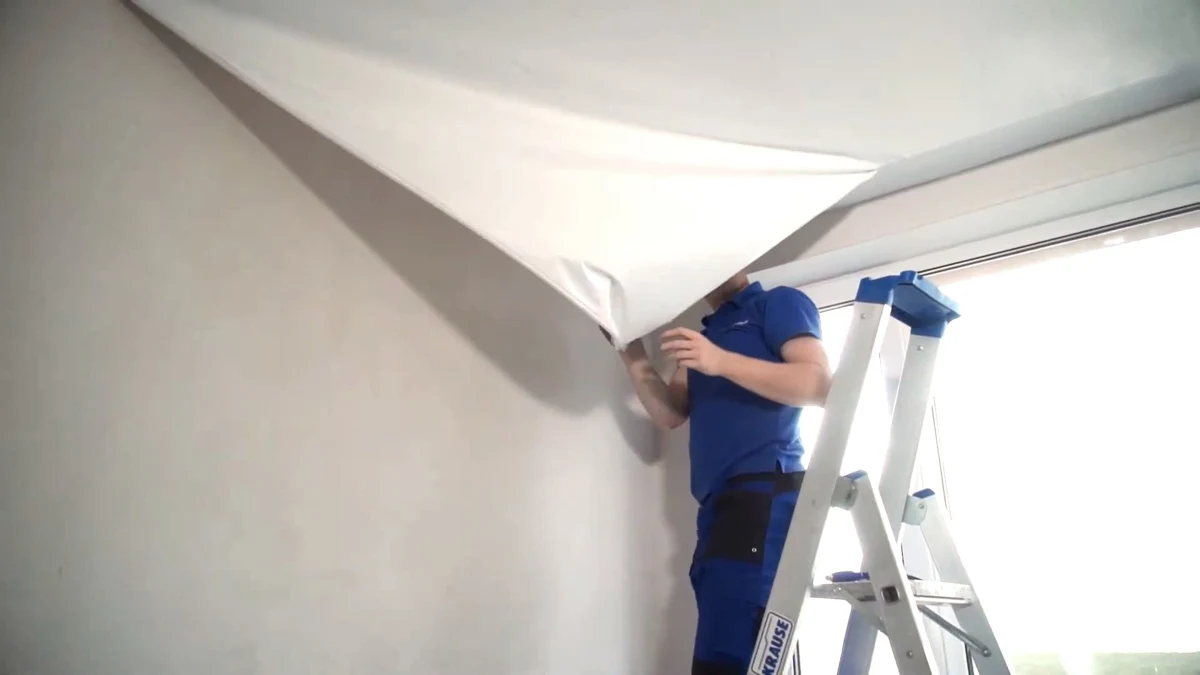
Before the new ceiling covers the slab, check where moisture is coming from, whether the extract system works and which components will need access for maintenance.
Inspect the supporting surface first
Inspect the slab and junctions near exterior walls, windows, bathrooms and pipes. Investigate damp patches, fresh water marks and peeling finishes before installation.
Take photos and discuss preparation with the installer. Loose finishes may need to be secured or removed. Fit the ceiling once the leak is fixed and the substrate is ready.
What to check above the membrane
Inspect
Check the mounting surface, water marks, service entry points and the condition of the structural ceiling.
Prepare
Fix the source of any leak and agree on ventilation.
Keep access
Keep fans, drivers and other serviceable components accessible.
Keep the extract system working
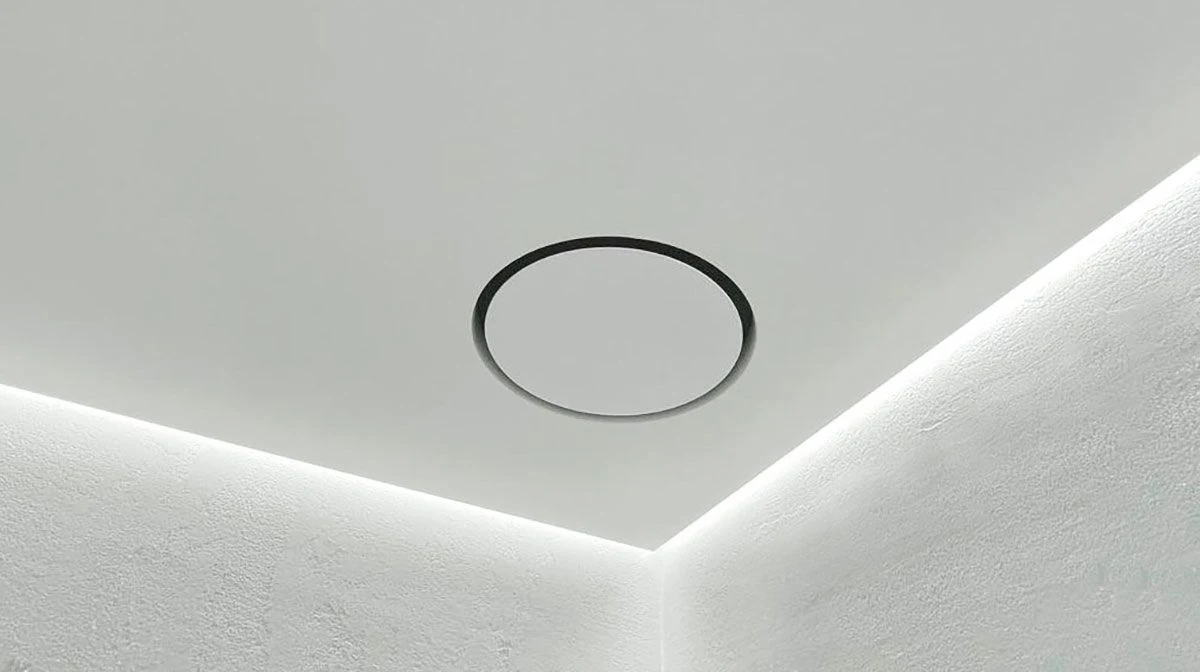
In bathrooms, plan the grille or diffuser position, duct route and access to the fan before fitting the membrane. A new ceiling can change how you reach existing components.
The number and placement of vents depend on the ventilation layout, pressure differences and room design. Ask a ventilation specialist if the existing airflow is poor.
Check the exact membrane specification
Suitability for a damp room depends on the individual product. CLIPSO, for example, provides separate specifications for coverings designed for humid spaces.
Ask for the product’s technical data, limits and care instructions. The room still needs suitable waterproofing.
Checklist before the site visit
- Are there signs of an active leak, and who is fixing it?
- Does the extract system work, and how will you access it?
- Where are the drivers, connections and serviceable equipment?
- What work does the supporting surface need before it is covered?
- Is the chosen membrane suitable for the room?
Record the answers in writing and include them in the estimate. For a rental, leave the lighting and ventilation layout and installer’s contact details with the property manager.